
Merge WebP Images into One File!
Drag & Drop Images Here
JPEG · JPG · PNG · GIF · WEBP
Merge WebP is a free, browser-based tool that lets you combine multiple images WEBP, JPEG, JPG, PNG, or GIF into a single output file. There is nothing to install, nothing to configure, and no account to create. You open the page, add your images, choose a few simple options, and download the result. The entire process happens locally on your own device, which means your pictures are never uploaded to a server, never stored anywhere outside your browser, and never seen by anyone but you.
What Merge WebP Does
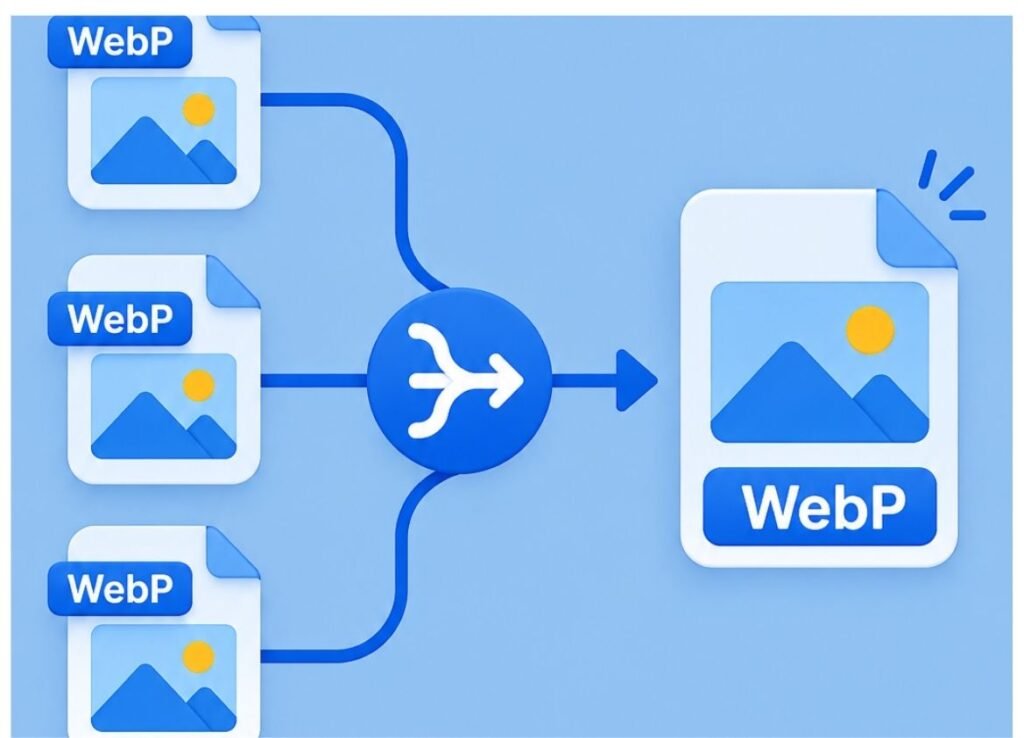
At its core, Merge WebP takes two or more images you provide and stitches them together into one continuous image, either stacked vertically or placed side by side horizontally. You control the layout direction, and you control the format of the file that comes out the other end WEBP, PNG, or JPG.
This makes the tool useful for a wide range of everyday tasks: combining a batch of WebP images exported from a design tool, joining scanned pages into a single strip, creating simple before-and-after comparisons, or preparing a long screenshot for a support ticket or documentation page.
Because the tool accepts several common image formats as input but focuses on WEBP as its primary output, it is particularly handy for anyone optimizing images for the web. WebP files are typically smaller than equivalent JPEG or PNG files at a similar visual quality, so merging your images and exporting the result as WebP can help keep a website or app lightweight and fast to load.
How to Used Merge WebP
Using Merge WebP takes only a few steps, and the interface is designed so that nothing is hidden behind menus or settings screens you have to hunt for.
- Add your images. Drag and drop your files directly onto the drop zone, or click the “Add from Device” button to browse your computer or phone. The tool accepts JPEG, JPG, PNG, GIF, and WEBP files, and you can add as many as you like in one go.
- Review your file list. Every image you add appears as a small thumbnail with its filename next to it, so you can confirm you have the right pictures before merging. If you added something by mistake, a small × button next to each thumbnail removes it instantly.
- Choose a direction. Use the Direction selector to decide whether your images should be stacked one above another (Vertical) or placed next to each other (Horizontal). This determines the shape and reading order of the final image.
- Choose an output format. The Format selector lets you pick WEBP, PNG, or JPG for the merged file. WEBP is a good default for smaller file sizes, PNG is useful when you need transparency preserved, and JPG works well for photographic content where a slightly smaller file matters more than perfect lossless quality.
- Adjust more options if needed. Opening “More Options” reveals a quality slider, which controls the compression level for WEBP and JPG output, and a gap slider, which adds even spacing between each image in the merged result.
- Merge and download. Once at least one image has been added, the “Merge Images” button becomes active. Clicking it processes everything in your browser and automatically downloads the finished file to your device.
Behind the scenes, the tool reads each image you add using your browser’s built-in FileReader API, converts it into a data URL, and draws it onto an HTML canvas element in the order and direction you chose. Once every image has been placed on the canvas, the tool exports the canvas as a new image file in the format you selected and triggers a standard browser download. No image data ever leaves your device during this process there is no server component involved at any point.
Why Processing Happens Locally
A lot of online image tools work by uploading your file to a remote server, processing it there, and sending the result back down to you. That approach works, but it means your images are temporarily sitting on someone else’s infrastructure, and it depends entirely on your internet connection speed for both the upload and the download. Merge WebP takes a different approach. Every part of the merging process reading the files, drawing them onto a canvas, and exporting the final image runs directly inside your web browser using standard, well-supported browser APIs.
This has a few practical benefits. First, it is fast, since there is no upload or download over the network involved in the actual processing step. Second, it is private, because your images are never transmitted anywhere. Third, it works reliably in restrictive environments including sandboxed browser previews or when a page is opened directly from a local file because the tool relies on data URLs rather than temporary blob URLs or server storage, and data URLs are guaranteed by the web platform not to create the kind of cross-origin restrictions that can otherwise interfere with canvas-based image processing.
Common Ways to Use Merge WebP
⦁ Combining product photos into a single vertical image for a marketplace listing or catalog page.
⦁ Joining a sequence of screenshots into one tall image for a bug report, tutorial, or support request.
⦁ Creating simple side-by-side comparison images, such as before-and-after shots or design variations.
⦁ Merging scanned document pages that were saved as separate image files into one continuous strip.
⦁ Preparing a set of WebP assets exported from a design tool into a single optimized file for a website.
⦁ Building quick contact sheets or thumbnail strips from a handful of photos without opening a full photo editor.
Choosing the Right Direction and Format
The Vertical direction works well when your images share a similar width, since the tool centers narrower images horizontally and stacks each one beneath the last.
This is the natural choice for anything meant to be read from top to bottom, such as instructional steps or a long strip of chat screenshots. The Horizontal direction is better suited to images of similar height, arranging them left to right, which fits comparison shots or a filmstrip-style layout nicely.
On format, WEBP is generally the best all-around choice for images destined for the web, since it tends to produce smaller files than JPEG or PNG at a comparable visual quality, and the quality slider under More Options lets you fine-tune the balance between file size and sharpness. PNG is the better option whenever your source images include transparency that needs to be preserved, since converting to JPG or WEBP at low quality settings can introduce visible artifacts around transparent edges. JPG remains a solid, widely compatible choice for straightforward photographic content where transparency is not a factor.
Tips for Best Results
⦁ Add images in the order you want them to appear the merge follows the order shown in the file list.
⦁ Use the gap slider under More Options if you want visible spacing between each image rather than having them touch directly.
⦁ If your images vary a lot in width or height, try both directions to see which layout looks cleaner for your specific set.
⦁ Lower the quality slider slightly for WEBP or JPG output if file size matters more than pixel-perfect sharpness, such as when preparing images for a fast-loading web page.
⦁ Remove any image you no longer want with the × button rather than starting over your other files and settings stay in place.
Merge WebP is A Tool Built for Simplicity
Merge WebP was designed around a simple idea: joining a few images together shouldn’t require installing software, learning a new interface, or handing your files over to a remote server. The tool keeps every option visible and self-explanatory, from the drag-and-drop area to the direction and format selectors, so there’s no learning curve involved.
Whether you’re a designer tidying up export files, a support agent stitching together screenshots, or someone simply trying to combine a few vacation photos into one image, Merge WebP handles the job in seconds, entirely within your own browser, at no cost.
Because it runs entirely client-side, there are no file size limits imposed by a server, no waiting in an upload queue, and no risk of your images being retained somewhere after you’ve finished. Add your files, pick your direction and format, and download your merged image that’s the entire workflow, start to finish.